Xplorer2 Setup
Start by going to
![]() http://www.tucows.com
and searching for Xplorer2. The lite version is free for private and academic use and runs on all versions of Windows. As of December, 2007, the current lite version is 1.6.5.3. (There is a pro version with a higher number.)
http://www.tucows.com
and searching for Xplorer2. The lite version is free for private and academic use and runs on all versions of Windows. As of December, 2007, the current lite version is 1.6.5.3. (There is a pro version with a higher number.)
The downloaded file may be a compressed ".ZIP" format, if so, unzip the file using WinZip, FreeZip or any program that supports zip files. The unzipped package will consist of a single .EXE file. Install Xplorer2 by executing the file.
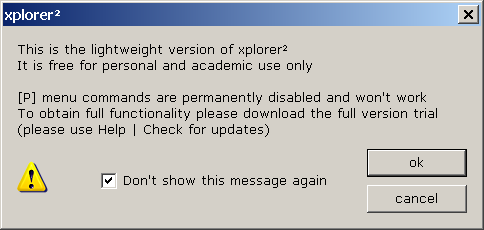
Start Xplorer2 by double-clicking on the X2 icon. A copyright warning message will appear. Turn this off by clicking the checkbox and the OK button.
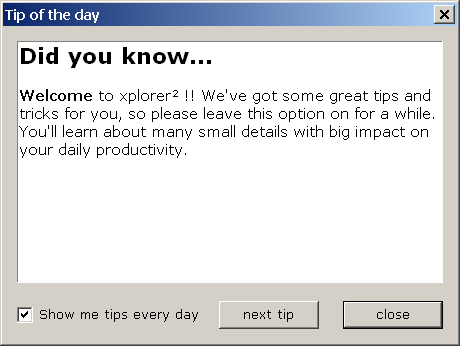
Next a Tip of the day message will appear. Uncheck the box if you do not want tips and click the close button.
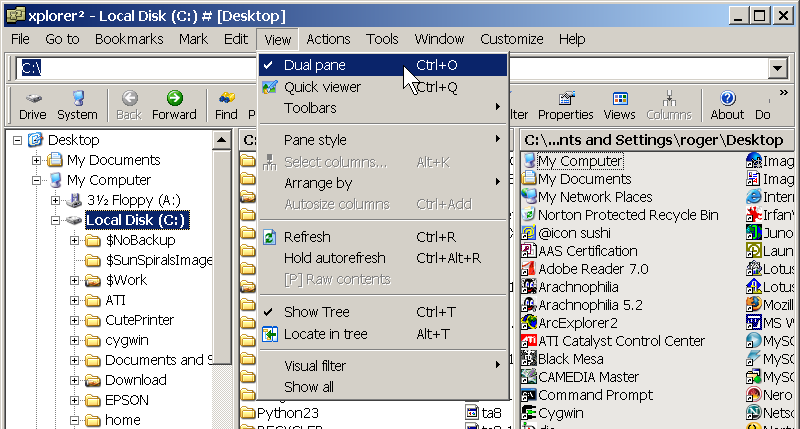
The default view of Xplorer is dual pane mode. Dual pane mode shows the contents of two folders plus a folder tree on the left hand side. Dual panes is not helpful for sorting images, so turn this option off by clicking on the View menu selection and then clicking on the Dual Pane option to turn it off.
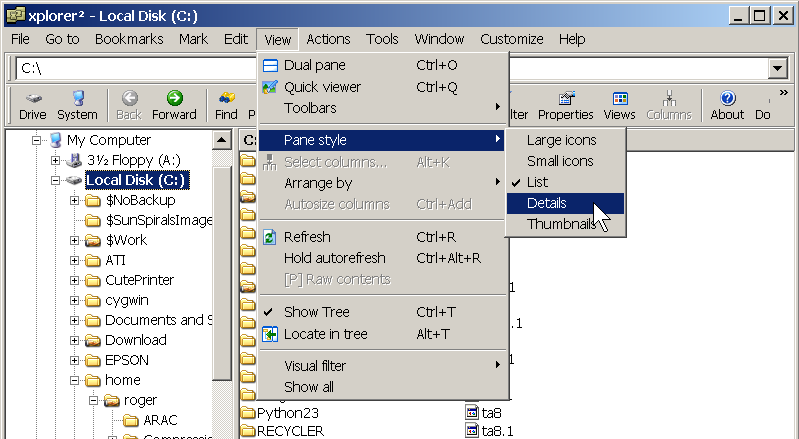
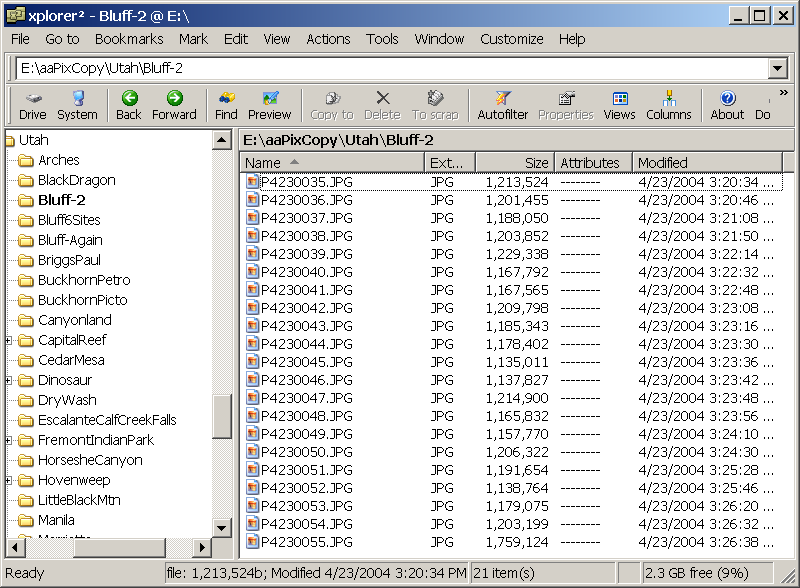
Because of the dual pane feature, Xplorer2 has a quirk that forces you to select a pane before setting the pane style, even though the dual pane feature is turned off and there is only one pane displayed. Click anywhere in the right side pane and then click on the menu View tab and select Pane Style, Details.
The result is a display similar to the classic view of Windows Explorer as it was under Windows/98. Use the left hand folder tree to navigate to a folder that has images.
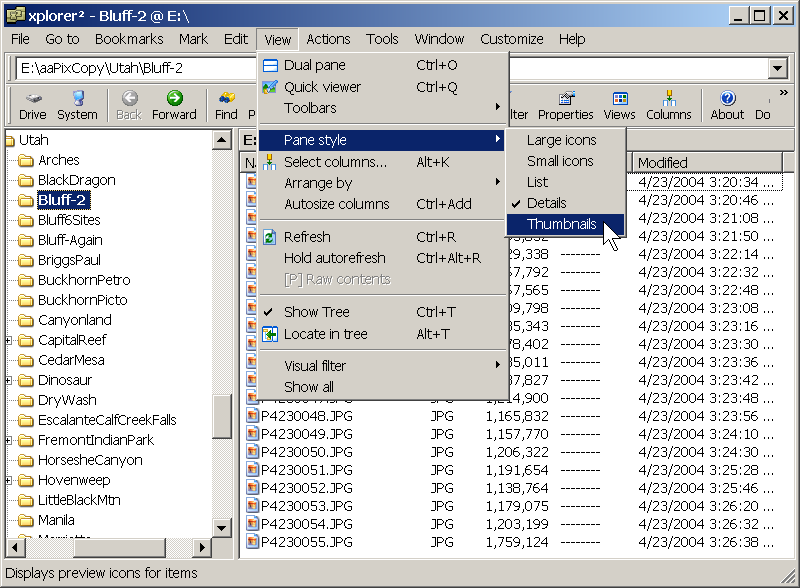
To see the images as thumbnails, click anywhere in the right hand pane to make it the active pane and then click on the menu View tab and select Pane Syle, Thumbnails.
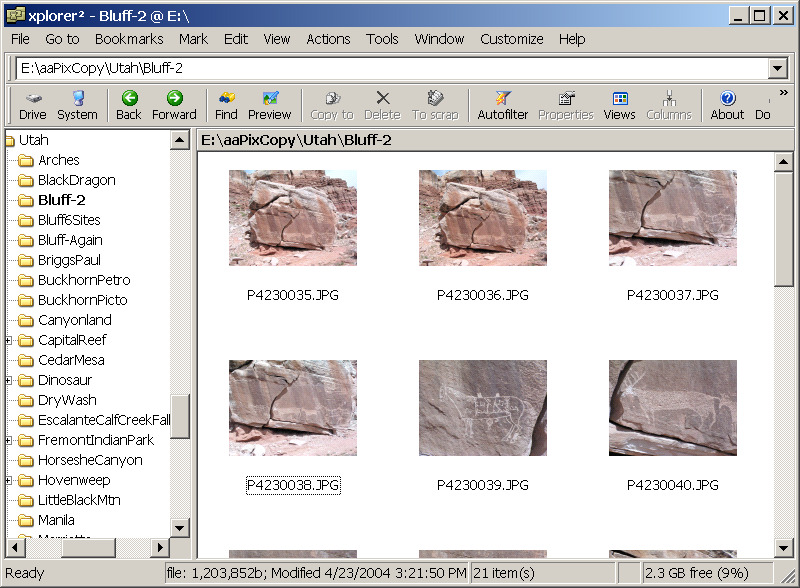
The view will change to show the images as thumbnails. If your image files are over 2,000,000 bytes, you may not see the images -- see the next step.
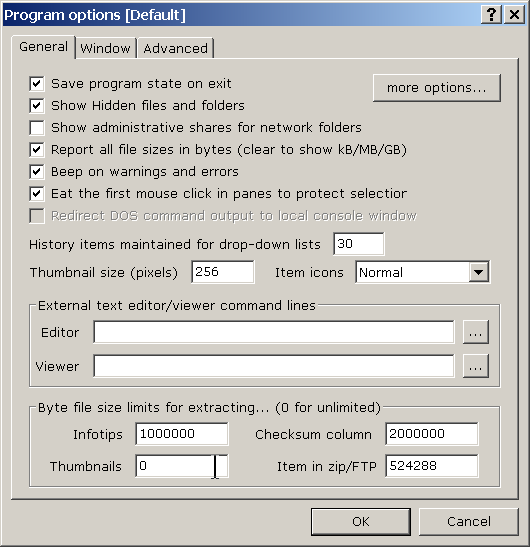
The size of the thumbnail images may be changed. To do so, click the Tools menu tab and select Options to open a programs options window. Change the Thumbnail size (pixels) box to 256 or another value of your choice.
![]() If you have a camera that creates image files greater than 2,000,000 bytes, change the Thumbnails box under Byte file size limits to 0 or a value larger than any of your image sizes.
If you have a camera that creates image files greater than 2,000,000 bytes, change the Thumbnails box under Byte file size limits to 0 or a value larger than any of your image sizes.
Another quirk of Xplorer2 is that the full help files are not distributed with the program. To get the full version, press the F1 key or click the Help menu tab and select Contents. A pop-up window will appear.
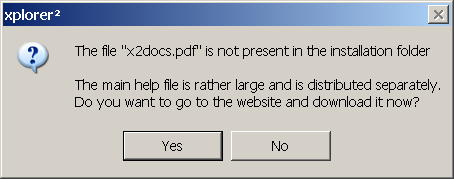
Click the Yes button to open your browser to a download page. Select and download the help documentation, and unzip the downloaded file. To get the help to work properly, you must move or copy the x2docs.pdf file to the folder where Xplorer2 was installed -- usually C:\Program Files\zabkat\xplorer2_lite.
If you later upgrade Xplorer2 to a new version and wish to upgrade the documentation, delete the x2docs.pdf file from C:\Program Files\zabkat\xplorer2_lite. Then press the F1 key or click help as instructed above to download and install a new copy.